
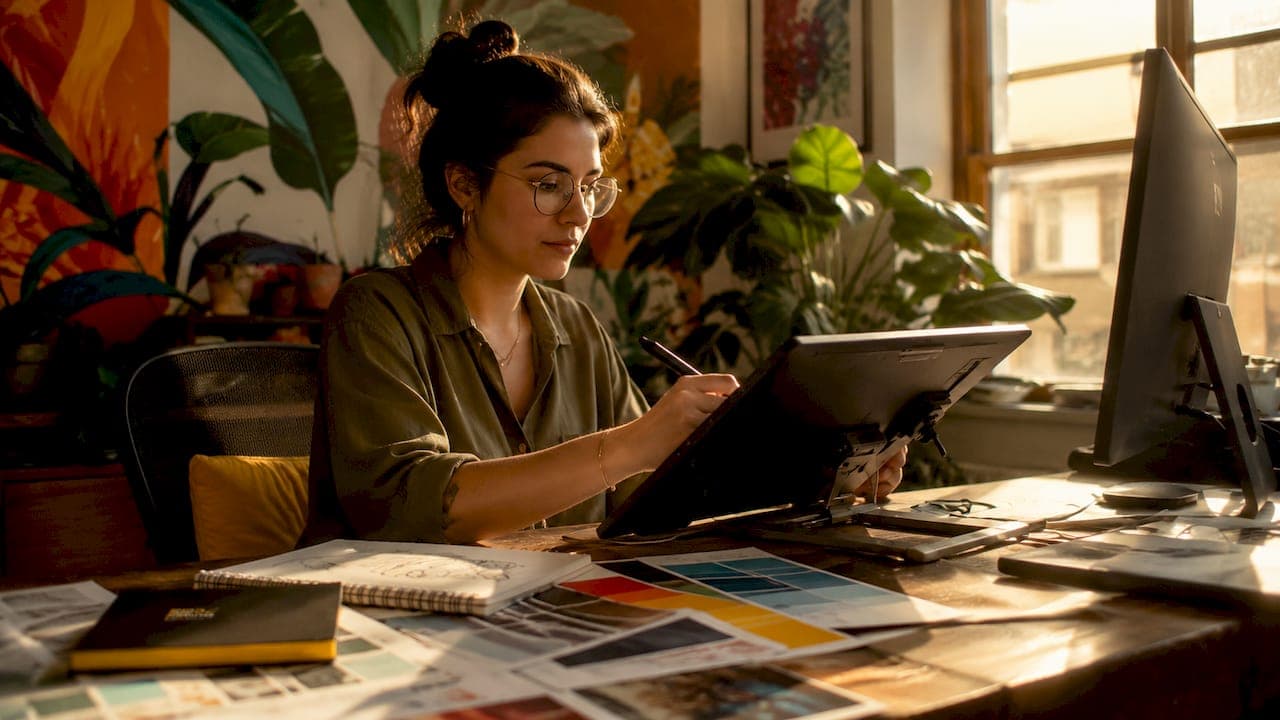
Professional image manipulation is the practice of transforming raw photographs and digital assets into polished, intentional visuals through layered editing, compositing, and color work. The industry term for this discipline is photo compositing when multiple images combine into one scene, though retouching and digital manipulation cover the broader craft. This professional image manipulation guide covers the full workflow: from software setup and non-destructive editing to advanced blending techniques and AI integration. Whether you work in graphic design, marketing, or visual art, the techniques here apply directly to the work you produce every day.
What tools and software enable effective professional image manipulation?
The most capable image editing software shares three core features: smart objects, adjustment layers, and layer masks. Smart objects act as protective containers for your pixels, letting you apply filters and transformations without permanently altering the original image data. Adjustment layers sit above your image layers and control color, exposure, and tone without touching a single underlying pixel. Masks let you hide or reveal parts of any layer with complete reversibility.
AI-assisted features have changed how professionals approach early-stage editing. Tools like Harmonize, sky replacement, and generative fill accelerate color and light matching by generating a baseline in seconds. That baseline still needs manual refinement. Automated matching rarely accounts for subtle shadow direction, atmospheric haze, or the specific color temperature of a practical light source on set.

Pre-planning is the step most designers skip, and it costs them hours in post-production. Mapping horizon lines and vanishing points before you open a single file determines whether your composite will feel believable or forced. Perspective mismatches are almost impossible to fix cleanly after the fact. Professionals who plan their light sources, camera angles, and subject interactions before editing consistently produce stronger results in less time.
Pro Tip: Before opening your editing software, sketch the final composite on paper. Note the light source direction, the horizon line, and which elements sit in the foreground versus background. This five-minute step prevents hours of rework.
The difference between manual and AI-assisted workflows is not quality. It is speed and creative control. Manual techniques give you exact authority over every pixel. AI features compress the time needed to reach a workable starting point. The strongest professional workflows use both, treating AI as a first pass and manual work as the finishing layer.
How to build a non-destructive, flexible editing workflow
Non-destructive editing is the single most important habit in professional compositing. Converting every layer to a smart object immediately after placing it into your document preserves the original pixel data indefinitely. You can revisit, re-edit, and reapply filters at any point in the project without quality loss. This matters enormously when a client requests a revision six weeks after delivery.
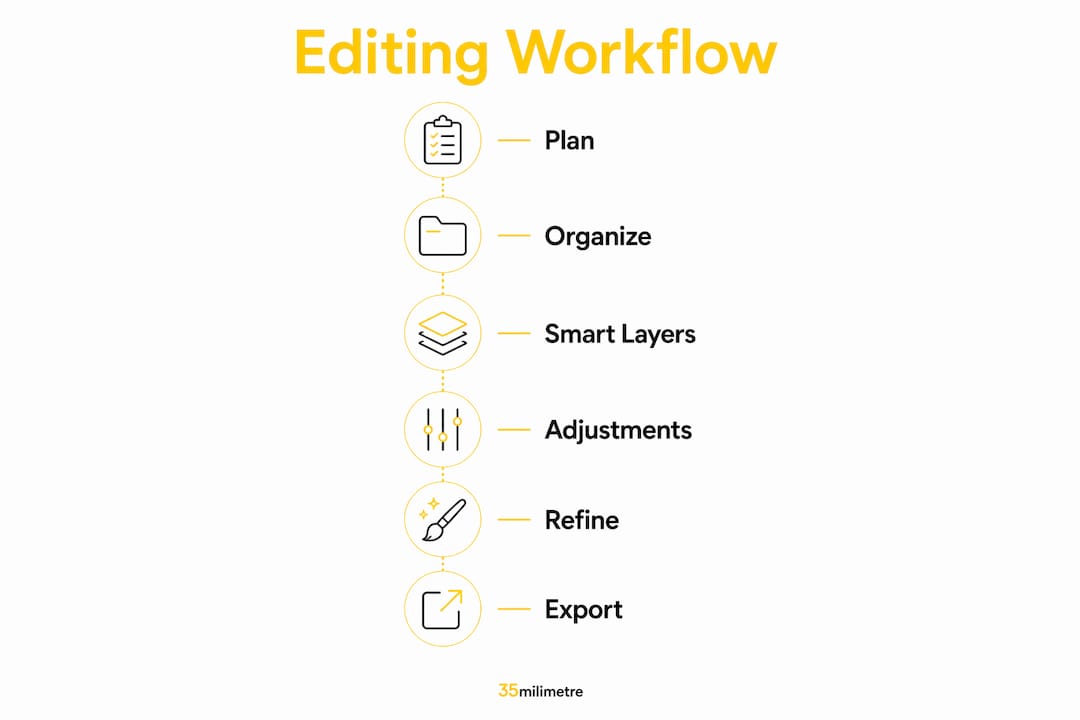
A well-organized layer panel is not a luxury. It is a professional requirement. Here is the workflow 35milimetre uses on complex compositing projects:
- Convert to smart objects. Place every image element as a smart object before applying any transformation or filter.
- Name every layer immediately. Use descriptive names like "hero-shadow," "bg-sky," or "product-reflection" rather than "Layer 47."
- Color-code by function. Assign one color to background elements, another to subjects, and a third to adjustment layers. This makes navigation fast at any stage.
- Group related elements. Place each subject and its associated masks, shadows, and adjustments inside a named group. Collapsing groups keeps the panel readable.
- Use masks, never erasers. Paint on a layer mask to hide areas rather than deleting pixels. Every hidden area remains recoverable.
- Clip adjustment layers. Clip each color or exposure adjustment directly to its target layer so changes affect only that element.
Complex composites in 2026 routinely integrate 18 or more distinct images within a single non-destructive workflow. That scale demands strict organization from the first file save. A disorganized layer panel on a 20-image composite becomes unworkable within hours. The organizational habits you build on small projects carry directly into large commercial work.
Maintaining flexibility for client feedback is the practical payoff of this entire system. When a client asks to shift the color temperature of one background element, a well-organized non-destructive file makes that a two-minute change. The same request in a flattened or destructively edited file can mean rebuilding entire sections from scratch. For a deeper look at how compositing structure supports creative decisions, the guide on why compositing works covers the reasoning behind each structural choice.
What are the advanced techniques for seamless blending and realistic composites?
Realistic compositing fails most often at the edges: where one image meets another, where light from one source contradicts another, and where the grain of a studio shot clashes with the noise of an outdoor photograph. Solving these problems requires a set of specific techniques applied in a deliberate order.
Matching exposure and color per element. Clip a Curves or Levels adjustment layer directly to each subject layer. Adjust exposure, shadow depth, and highlight rolloff to match the background's lighting conditions. Never apply a single global color grade and expect every element to fall into place.
Atmospheric contrast correction. Background elements lose contrast as they recede into the distance because atmosphere scatters light. Use the Levels tool's output sliders to reduce the contrast of far-away elements, lifting their shadows slightly and compressing their highlights. This single technique adds more perceived depth than almost any other adjustment.
Perspective matching. Every element in a composite must share the same horizon line and vanishing points. A subject photographed at eye level placed into a scene shot from below will never look real, regardless of how well you match the color. Correct perspective mismatches by transforming elements with the Warp or Perspective tools before any color work begins.
Grain and texture unification. Studio shots are clean. Outdoor photographs carry noise. When you combine them, the difference in texture reads as fake. Add a unified grain layer at the top of your layer stack, set to Luminosity blend mode, to tie all elements together visually.
Manual shadow painting. Subjects without grounded shadows float. Paint shadows on a separate layer using a soft brush at low opacity, sampling the shadow color from the background rather than defaulting to black. Anchor every subject to its surface with a contact shadow, then add a longer cast shadow that follows the scene's light direction.
Pro Tip: Use the clone stamp and healing brush for subtle texture blending at the edges of composited elements. A few strokes where a subject meets the background can eliminate the "cut-out" look that betrays even well-matched color work.
For a broader look at how these techniques apply across different creative contexts, the article on creative image editing covers the conceptual framework behind each approach.
How can AI enhance image manipulation, and what are its limits?
AI tools have earned a real place in professional post-production workflows. They are not replacements for craft. They are accelerators that compress the time between a rough composite and a workable starting point.
The most useful AI features currently available include:
- Harmonize: Matches the color and light of a selected element to the surrounding scene. Useful as a first pass on complex composites with many light sources.
- Generative fill: Extends backgrounds, fills masked areas, and generates texture-matched content. Works on new layers by default, keeping the original pixels intact.
- Sky replacement: Swaps skies in outdoor scenes with automatic masking and basic light matching. Requires manual refinement of edge transitions and reflected light on subjects.
The risk of over-relying on AI is creative drift. When you accept an AI-generated result without interrogating it, you surrender decisions that define the visual character of your work. Harmonize might match the average color temperature of a scene, but it cannot know that your client's brand requires cooler shadows and warmer highlights. That judgment belongs to you.
AI tools like Harmonize accelerate matching light and color, but lasting artistic control requires manual refinement after every automated pass. Professionals use AI as a baseline, not a final answer.
The best practice is a two-pass approach. Run the AI tool first to establish a rough match. Then work through the composite manually, correcting what the algorithm missed. This approach captures the speed benefit of automation without surrendering the quality standard that separates professional work from amateur output. For a detailed breakdown of current AI techniques, the guide on AI image enhancement covers the most effective methods available in 2026.
Key Takeaways
Professional image manipulation requires non-destructive workflows, deliberate pre-planning, and a disciplined combination of manual technique and AI-assisted tools to produce polished, revision-ready composites.
| Point | Details |
|---|---|
| Non-destructive workflow first | Convert every layer to a smart object before applying any filter or transformation. |
| Plan before you edit | Map light sources, horizon lines, and vanishing points before opening your file. |
| Atmospheric depth is earned | Use output level sliders to reduce contrast on background elements and simulate real distance. |
| AI accelerates, not replaces | Use AI tools for a first pass, then refine manually to maintain creative control. |
| Organization scales with complexity | Name, color-code, and group layers from the start to handle composites with 18 or more images. |
What 20 years of compositing actually taught us
The most common mistake we see from designers entering professional compositing is treating the editing software as the starting point. They open a blank canvas, drop in images, and start pushing pixels. The result is always the same: a composite that looks assembled rather than created.
Planning is not a preliminary step. It is the work. When we take on a complex automotive or technology campaign at 35milimetre, the first hour is never spent in front of a screen. It is spent studying reference images, mapping light directions, and deciding which elements will carry the visual weight of the final frame. That hour saves four hours of rework later.
The second habit that separates professional work from everything else is discipline around non-destructive editing. We have revisited files from three years ago for client updates and made the changes in minutes because every layer was a smart object, every adjustment was clipped, and every mask was intact. That kind of flexibility is not just convenient. It is a professional commitment to the client.
On AI: we use it, and we use it often. But we treat every AI output as a draft. Harmonize gets us 70% of the way to a color match. The remaining 30% is where the actual craft lives. The atmospheric nuance, the shadow temperature, the grain unification. Those details are what make a composite feel photographed rather than assembled. No algorithm makes those calls yet.
The advice we give every designer who asks: learn the manual techniques first, deeply. Then add AI tools to your workflow. The sequence matters. If you learn AI first, you will not know what it is getting wrong.
— 35mm
When your project needs more than a guide
Some projects demand more than technique. They demand experience, speed, and the ability to deliver commercial-grade results under real deadlines.
35milimetre is an Istanbul-based post-production studio with over two decades of hands-on work in compositing, retouching, and visual storytelling. The team has delivered high-end imagery for major brands in technology and automotive, working directly with ad agencies, photographers, and marketing teams. If your next campaign needs professional post-production work that goes beyond what a guide can teach, 35milimetre is built for exactly that. From CGI and packaging to AI-enhanced commercial imagery, the studio handles the full visual production process.
FAQ
What is professional image manipulation?
Professional image manipulation is the process of editing, compositing, and retouching photographs using non-destructive workflows to produce polished, commercially viable visuals. It covers everything from basic color correction to complex multi-image compositing.
Why is non-destructive editing important in compositing?
Non-destructive editing preserves original pixel data by using smart objects, masks, and adjustment layers, allowing unlimited revisions without quality loss. This is critical for client work that requires changes after delivery.
How do I match light and color across composite elements?
Clip a Curves or Levels adjustment layer directly to each element and adjust exposure, shadow depth, and highlight rolloff to match the scene's light source. Atmospheric contrast correction on background elements adds convincing depth.
When should I use AI tools in my editing workflow?
Use AI tools like generative fill or Harmonize as a first pass to establish a rough color and light match, then refine manually. AI accelerates the baseline but cannot replace the judgment needed for professional-grade results.
How do I manage complex composites with many layers?
Name every layer immediately, color-code by function, and group related elements from the start. This organizational discipline scales to composites with 18 or more images without the layer panel becoming unworkable.