
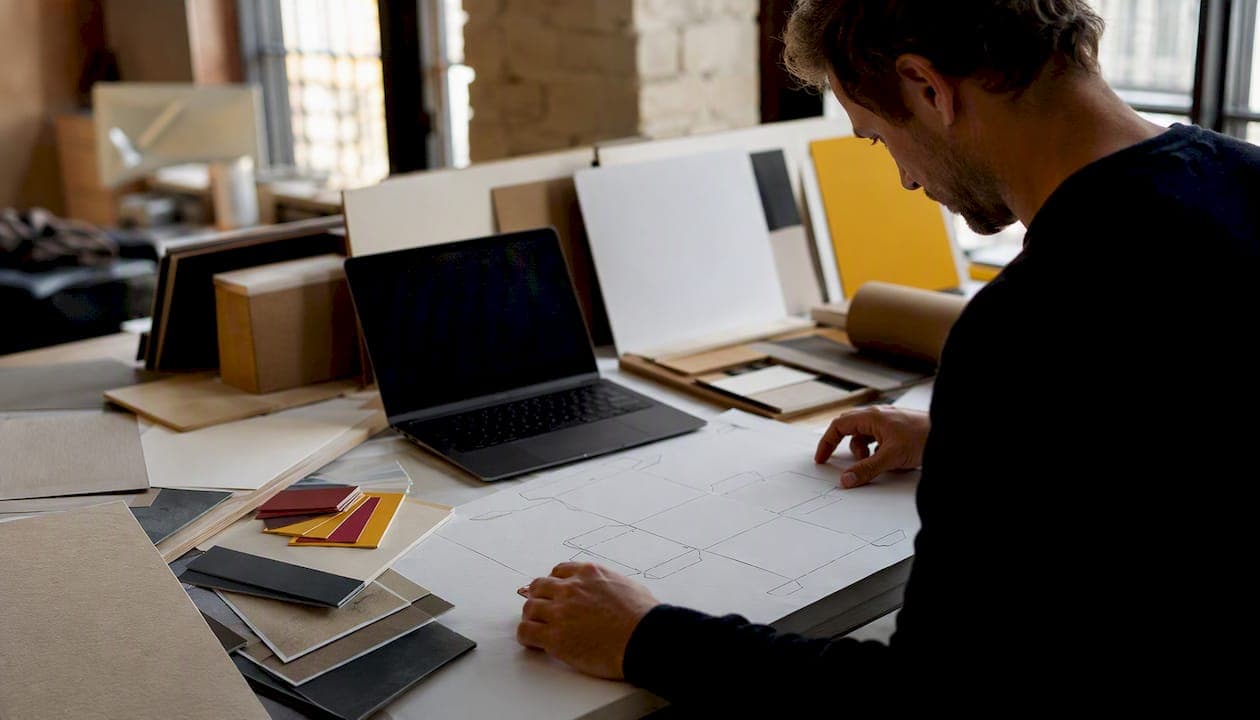
The fastest reliable route from a flat dieline to a production-accurate 3D packaging mockup is this: prepare a clean vector dieline in Adobe Illustrator with cut and crease lines on separate spot-color layers, export as PDF/X-4 or native AI with layers intact, then either drop it into a browser-based folder for a quick concept visual, or import it into Blender for a photoreal render. The two paths serve different goals, and knowing which one your project actually needs saves hours of rework.
Before you open any 3D application, confirm you have four things ready: the dieline file in AI or PDF format, artwork placed on a separate layer from the structural lines, a panel mapping plan that identifies every face and its fold sequence, and a clear target deliverable such as a 2D hero render, a 3D asset for AR, or a file package for agency handoff. As the Borhen Pack dieline guide notes, a dieline validates structure while a 3D mockup communicates finished appearance; both serve distinct purposes and neither replaces the other.
- Dieline file: AI or PDF with spot-color keylines
- Artwork layer: separated from structural lines, CMYK, 300 ppi raster elements
- Panel map: labeled faces with fold sequence noted
- Target deliverable: 2D render, 3D asset, or AR-ready export
Key Takeaways
The most reliable path from a flat dieline to a production-accurate 3D mockup is a clean Illustrator file with spot-color keylines, exported as PDF/X-4, then built into a textured, hinge-parented model in Blender and rendered in Cycles.
| Point | Details |
|---|---|
| Prepare the dieline first | Spot-color cut and crease layers, 3 mm bleed, and 3–5 mm safe zones are required before any 3D work begins. |
| Match the approach to the deliverable | Browser tools for concept reviews; Blender for hero renders and AR assets; a studio for complex packs or campaign-ready files. |
| Verify scale before UV mapping | Measure panel geometry against dieline dimensions in Blender and correct scale before assigning UV islands. |
| Layer materials for photorealism | Board thickness, micro-texture normal maps, and finish masks (spot varnish, foil) move a render from plausible to convincing. |
| 35milimetre for production briefs | The studio delivers prepress-verified, composited hero files from your dieline and material spec, agency-ready on the first pass. |
Table of Contents
- How to convert a dieline to a 3D mockup in five steps
- Which approach fits your project: browser tool, full 3D app, or studio?
- Toolchains designers actually use
- Step-by-step: from Illustrator dieline to a production-accurate Blender mockup
- Making your mockup look real: materials, thickness, and lighting
- Which export format to use for each deliverable
- Fixing the most common dieline-to-3D errors
- When does it make sense to hire a specialist studio?
- How to verify dimensional accuracy in your 3D mockup
- Adding textures and finishes that go beyond basic materials
- Preparing your mockup for AR versus print production
- A studio perspective on dieline-to-3D projects
- 35milimetre: production-grade packaging mockups for demanding briefs
- Sources
How to convert a dieline to a 3D mockup in five steps
This quick-start sequence works for concept reviews and client presentations where speed matters more than final-render fidelity.
- Prepare the dieline. Open the AI file and confirm cut lines are on a spot-color layer named "Die Cut" and crease lines on a layer named "Crease." Lock both layers. Check that bleed extends at least 3 mm beyond the cut edge and that artwork sits within a 3–5 mm safe zone from every crease. The PackageTheWorld prepress checklist recommends verifying color mode (CMYK), image resolution (~300 ppi), and bleed before any export.
- Separate artwork from structure. Duplicate the file. In the copy, hide or delete the Die Cut and Crease layers, then export a flattened PNG or PDF of the artwork-only version. This becomes your panel texture.
- Export for your chosen tool. For a browser folder, export a flat cross-layout PNG at 1:1 scale. For Blender, export per-panel PNGs or a single UV-mapped texture atlas. Keep the scale reference — a known dimension like the box width in millimeters — visible in the export or noted separately.
- Import, fold, and assign materials. In a browser-based tool, upload the cross-layout PNG; the parser splits it into panel meshes and folds them using hinge-parented groups. In Blender, build panel geometry to dieline dimensions, assign per-panel UV islands, parent panels to hinge empties, and animate fold rotations along crease axes.
- Render and export. For a quick visual, screenshot or export from the browser tool. For a production render, set up an HDRI environment in Blender Cycles, add a key softbox and fill light, denoise, and export PNG or EXR. For AR, export glTF/GLB.
Pro Tip: Keep the dieline's structural lines on a non-printing spot-color layer in every version of the file. If those lines ever get merged into the artwork layer, they will print on the final substrate — a prepress error that is expensive to catch after plates are made.
Which approach fits your project: browser tool, full 3D app, or studio?
The right method depends on what you need to deliver, not on which tool you already know.
Browser folding tools accept a cross-layout PNG or PDF, parse it into panel meshes, and fold the box in seconds. They are ideal for proof-of-concept visuals, internal alignment reviews, and quick client check-ins. The tradeoff is limited material control: you get a basic fold preview, not a photoreal render with accurate substrate reflectance.
Full 3D applications — Blender, Cinema 4D, Maya — give you complete control over geometry, UV mapping, material layering, lighting, and render output. This is the right path when the deliverable is a marketing hero shot, an AR asset, or a file that will be reused across a campaign. The learning curve is steeper and the setup time is longer, but the output quality justifies it for anything client-facing at production scale. The 3D rendering advantages for marketing and product launches are well documented, particularly for packaging where finish simulation matters.
Hiring a specialist studio makes sense when the pack is structurally complex (multi-part assemblies, magnetic closures, window cutouts), when the campaign requires accurate foil or emboss simulation, or when the deadline is tight and the deliverable needs to be print- and agency-ready on the first pass. A studio brings QA checks, retouching, and asset management that a solo designer's DIY workflow typically cannot replicate at speed.
A practical decision rule: use a browser mockup to validate artwork placement across panels, then move to Blender for scale, finish, and lighting checks before committing to a final render.
| Approach | Best for | Fidelity | Time to first visual | Key limitation |
|---|---|---|---|---|
| Browser folding tool | Concept review, internal alignment | Low to medium | Minutes | No material simulation |
| Full 3D app (Blender) | Hero renders, AR assets, campaigns | High | Hours to days | Requires 3D skill |
| Specialist studio | Complex packs, production deliverables | Highest | Days | Cost and briefing time |
Toolchains designers actually use
Three stacks cover most real-world scenarios, from a five-minute concept to a campaign-ready asset.
Chain A — Quick browser fold: Illustrator → export flat cross-layout PNG at 1:1 scale → upload to a browser-based folder → fold, screenshot, share. No 3D software required. Works well for rectangular boxes with standard cross layouts.
The GitHub dieline-to-3D box converter demonstrates how this parsing and hinge-parenting approach works in practice.
- Time: 5–15 minutes
- Fidelity: low (flat texture, no material simulation)
- Learning curve: minimal
Chain B — Hybrid: Illustrator → per-panel PNG exports → optional material authoring in Adobe Substance 3D Painter → Blender for folding, UV assignment, and rendering. This chain suits designers who want realistic substrate feel without building a full CGI pipeline from scratch. Substance handles texture detail; Blender handles geometry and lighting.
- Time: 2–6 hours depending on pack complexity
- Fidelity: medium to high
- Learning curve: moderate (Blender UV workflow)
Chain C — Production: Illustrator (layered vector dieline) → Blender for panel modeling, UV mapping, hinge animation, and Cycles rendering → Photoshop or a studio post workflow for color grading and compositing. This is the chain for campaign hero shots and AR-ready exports. Panel UV mapping and hinge parenting require manual setup, but the result is a fully controllable asset.
- Time: 1–3 days for a standard folding carton
- Fidelity: photoreal
- Learning curve: high (Blender modeling and shader graph)
Step-by-step: from Illustrator dieline to a production-accurate Blender mockup
This is the full pipeline for designers who need a render that holds up in a campaign.
-
Set up Illustrator layers correctly. Use four layers minimum: Dieline (spot-color cut lines), Crease (spot-color crease lines), Artwork, and Finishes (spot varnish, foil callouts). Name spot colors exactly — "Die Cut" and "Crease" — so any downstream tool or printer can identify them without guessing. Set bleeds to 3 mm and safe zones to 3–5 mm from every crease line. Export as PDF/X-4 with layers preserved, or save as native AI.
-
Export per-panel textures. Rasterize artwork per panel at 1:1 scale. A 100 mm × 150 mm panel face should produce a PNG at the equivalent pixel dimensions for your chosen resolution (300 ppi for print-quality texture). Include a scale reference object in a separate artboard so you can verify dimensions after import.
-
Build panel geometry in Blender. Create a plane for each panel face sized to the exact dieline dimensions in millimeters (set Blender's scene units to millimeters before modeling). Model board thickness as a real-world value — typically 0.3–0.5 mm for folding carton stock. Add edge creases where the dieline shows fold lines.
-
Set up hinge-parent groups. For each fold, create an Empty object positioned at the crease line. Parent the folding panel to that Empty. Animate fold by rotating the Empty around the correct local axis. Test the fold sequence against your panel map to confirm panels close in the right order without intersecting.
-
UV map each panel. Unwrap each panel face as a separate UV island. Match the island's orientation and scale to the exported per-panel PNG. Watch for flipped UVs — a panel that reads correctly in Illustrator can appear mirrored in Blender if the UV island is not oriented to match the texture's coordinate system.
-
Assign materials and finishes. For the base substrate, use a Principled BSDF with roughness around 0.6–0.8 for uncoated stock, or 0.1–0.3 for gloss laminate. Add a layered clearcoat node for spot varnish areas. For foil, use an anisotropic shader with low roughness and a metallic value of 1.0. Keep material nodes organized by finish type so they are easy to adjust.
-
Light and render. Use an HDRI for ambient environment light. Add a key softbox at roughly 45 degrees above and to one side, and a fill light at lower intensity on the opposite side to open up shadows. Set the camera to a focal length that flatters the pack shape — 85–100 mm equivalent avoids perspective distortion on small packs. Render in Cycles with denoising enabled, and export PNG or EXR.
-
Export for AR or handoff. For glTF/GLB, apply all textures as image nodes (not procedural), bake lighting if needed, and export with the Blender glTF exporter. For USDZ (iOS AR), convert the GLB using Apple's Reality Converter or a compatible pipeline. Include the dieline file, per-panel PNGs, and a spec sheet with substrate, finish, and dimension callouts in your delivery package.
Pro Tip: Before finalizing any render, fold a blank paper mockup by hand at 1:1 scale. Physical folding catches panel relationship errors — a tab that overlaps a window cutout, a glue flap that is too narrow — that look fine on screen but would fail in production.
Making your mockup look real: materials, thickness, and lighting
Photorealism in a packaging mockup comes from three physical inputs that most designers underestimate: board caliper, coating stack, and light quality.
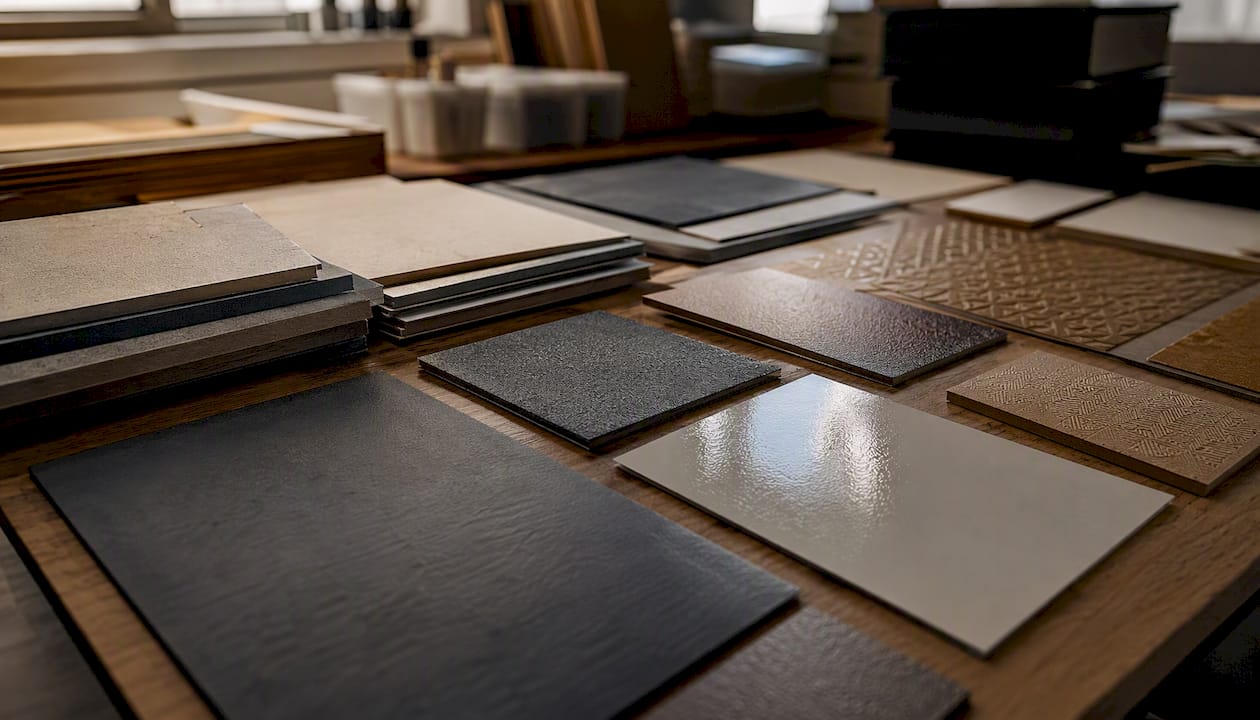
Board thickness is not cosmetic. A 0.4 mm caliper folding carton has visible edge thickness at corners and along open flaps. Model it. When the camera is close enough to show pack edges, a zero-thickness plane reads immediately as CG. Set your geometry to match the real substrate spec, and the fold behavior and highlight roll-off at edges will follow naturally.
For materials, start with these quick settings as a baseline:
- Uncoated stock: Principled BSDF, roughness 0.7–0.8, specular 0.3, no metallic
- Gloss laminate: roughness 0.05–0.15, specular 0.6–0.8, IOR 1.5
- Matte laminate: roughness 0.4–0.6, specular 0.2–0.3
- Spot varnish: add a clearcoat layer over the base material, roughness 0.05, weight driven by a mask texture
- Metallic foil: metallic 1.0, roughness 0.05–0.1, anisotropic 0.5–0.8 with rotation matching foil grain direction
Lighting is where most DIY mockups fall apart. An HDRI alone produces flat, directionless light that makes packs look like renders rather than photographs. For hero shots, a subtle rim light behind the pack separates it from the background and adds perceived depth.
Pro Tip: Photograph a physical sample of the actual substrate and finish under controlled studio lighting. Use that photograph as a reference when dialing in roughness and IOR values — it is faster and more accurate than guessing from spec sheets alone.
Which export format to use for each deliverable
The right format depends entirely on where the file is going next.
2D renders for marketing use: export PNG at 16-bit or EXR for maximum color depth. Use sRGB color space for web and social; convert to the agency's preferred profile (often Adobe RGB or CMYK TIFF) for print production. A layered PSD with the render on one layer and a clean background on another gives retouchers room to work.
3D assets for web and AR: glTF/GLB is the current standard for web-based AR and most real-time viewers. Keep triangle counts reasonable — under 50,000 triangles for a simple folding carton — and texture atlases at 2048 × 2048 pixels or smaller for mobile compatibility. Bake ambient occlusion and, if the platform does not support real-time reflections, bake a lightmap. For iOS AR specifically, export USDZ. For legacy pipelines (game engines, older visualization tools), FBX or OBJ with accompanying MTL files remains the most compatible choice.
Delivery package contents:
- Dieline source file (AI or PDF/X-4)
- Per-panel texture PNGs at full resolution
- Rendered hero image (PNG or EXR)
- 3D asset (GLB or FBX depending on downstream use)
- Spec sheet: substrate name, caliper, finish type, panel dimensions, color profile
For AR optimization specifically, bake all lighting contributions into textures rather than relying on real-time shaders, reduce geometry to the minimum that preserves the pack's silhouette, and confirm the scale is set to real-world millimeters before export. A box that appears at 10× its actual size in an AR viewer is a common error caused by mismatched scene units at export.
Fixing the most common dieline-to-3D errors
Most problems in this workflow fall into five categories, and each has a fast fix.
- Artwork shifted across panels: UV islands are misaligned. Open the UV editor, select the island for the affected panel, and match its position and scale to the corresponding panel PNG. A shared vertex between adjacent panels helps lock registration.
- Flipped or mirrored texture: The UV island is oriented incorrectly. Select the island and use Mirror X or Mirror Y in the UV editor, then re-check against the source artwork. This is the single most common error when importing from Illustrator, where coordinate systems differ.
- Hinge rotates on the wrong axis: The parent Empty's local axes were not aligned to the crease line before parenting. Reset transforms on the Empty, realign it to the crease, then re-parent the panel.
- Visible seam at panel joins: Add texture padding (at least 4–8 pixels) around each UV island when exporting panel PNGs, or use shared vertices at panel edges so geometry is continuous rather than split.
- Scale mismatch between dieline and 3D model: Verify that Blender's scene units are set to millimeters and that the import scale factor was not applied twice. Place a reference cube at a known dimension (e.g., 100 mm × 100 mm) and compare it to the dieline measurement before building panel geometry.
Before rendering, run this debug checklist: confirm all structural layers are hidden in the artwork export, verify spot-color layers are present in the source AI file, check bleed on all four sides, confirm texture resolution matches the render output size, and test fold animation through the full sequence once with a neutral gray material applied to all panels. Community threads on the Adobe forums and Graphic Design Stack Exchange document many of these same issues with practical workarounds from working designers.
A blank physical mockup folded by hand will reveal assembly problems — a tab that does not reach its glue zone, a panel that overlaps a neighbor — that no screen preview catches reliably.
When does it make sense to hire a specialist studio?
Some projects reach a point where the DIY path costs more in time and rework than a studio brief would. The signals are usually clear.
- The pack has complex structure: multi-part assemblies, magnetic closures, tuck-lock bases, or window cutouts that require precise geometry
- The campaign requires accurate simulation of specialty finishes — soft-touch laminate, hot-stamp foil, emboss, or spot UV — where material settings need to be calibrated against real substrate samples
- The deliverable is a hero shot for a major campaign, a retail sell-in deck, or a product launch where the image quality will be scrutinized by an art director or brand team
- The timeline is tight and the file needs to be print-ready and agency-approved on the first submission
- The project requires both a 3D asset and a retouched 2D composite — a combination that typically spans two skill sets
A studio like 35milimetre brings full QA across the prepress, 3D, and retouching stages, which means scale verification, crease accuracy checks, and color-managed output are handled as part of the workflow rather than as afterthoughts. The 3D artists at 35milimetre work alongside retouchers and compositors, so the final deliverable is a production-ready file, not a raw render that still needs post work. When briefing a studio, include the dieline file, material spec (substrate, caliper, finish), target deliverables (formats and sizes), and any brand or agency quality guidelines.
How to verify dimensional accuracy in your 3D mockup
Scale errors are silent.
The most reliable method is to place a reference object at a known real-world dimension inside the same Blender scene as the mockup. A 100 mm × 100 mm plane works well. After building panel geometry from the dieline, measure the corresponding panel in Blender's viewport using the Measure tool (N panel → Item → Dimensions) and compare it to the dieline spec. If the values match, the scale is correct. If they differ, apply the corrective scale factor before UV mapping — scaling after UV assignment distorts texture placement.
For folding cartons, also verify the assembled dimensions. Animate the fold to its closed position and measure the exterior width, depth, and height of the assembled box. These should match the dieline's panel dimensions accounting for board thickness. A 0.4 mm caliper board folded into a four-panel tube will add roughly 0.8 mm to each exterior dimension at each corner pair — a small but meaningful difference for tight-tolerance retail shelf fits.
Designing artwork directly on a flat rectangle without a verified dieline is a known source of errors; critical art placed across creases or glue zones is one of the most common prepress mistakes and one that a dimensionally accurate 3D mockup will catch before plates are made.
Adding textures and finishes that go beyond basic materials
A single Principled BSDF gets you to a plausible result. Getting to a convincing one requires layering physical detail that matches how real substrates behave under light.
Paper and board have micro-texture that affects how light scatters across the surface. For uncoated stock, add a subtle normal map generated from a high-resolution scan of the actual paper grain — even a 512 × 512 grayscale tile tiled across the panel adds perceived tactility. For coated stock, the normal map should be nearly flat, with only the print dot structure contributing micro-roughness.
Spot varnish areas need a mask texture that exactly matches the varnish artwork layer from the Illustrator file. Export that layer as a grayscale PNG and use it as the weight input for a clearcoat node or a Mix Shader between a matte and gloss material. The boundary between varnished and unvarnished areas is where photorealism is won or lost — a soft edge looks wrong; the transition should be sharp, matching the print registration tolerance of the actual process.
For emboss and deboss effects, use a displacement map or a bump map derived from the emboss artwork. Keep displacement subtle — real emboss on folding carton stock rarely exceeds 0.2–0.3 mm in depth. Exaggerating it reads as CG immediately. Packaging design guidance on current finishing options notes that foil and emboss combinations are among the most requested premium finishes, and simulating them accurately in 3D is a meaningful differentiator in client presentations.
Visual content that accurately represents premium finishes also performs better in marketing contexts — research on visual content in marketing consistently shows that high-quality product imagery drives significantly stronger engagement than generic or low-fidelity visuals.
Preparing your mockup for AR versus print production
The same 3D asset cannot serve both AR and print production without optimization. The two use cases have fundamentally different constraints.
For AR viewing (web-based or iOS), the priority is file size and real-time performance. Reduce triangle count to the minimum that preserves the pack's silhouette and key structural details. Bake ambient occlusion, lightmaps, and any complex shader effects into texture maps so the real-time renderer does not need to calculate them. Keep texture atlases at 2048 × 2048 pixels or smaller. Export as glTF/GLB for web AR or USDZ for iOS. Confirm scale is set to real-world millimeters — an AR viewer places the object in physical space, so a scale error is immediately visible when the box appears at table-top size.
For print production and agency handoff, the priority is color accuracy and resolution. Render at the highest practical resolution (at minimum 3000 × 3000 pixels for a standard pack hero shot), export in a color-managed format (EXR or 16-bit TIFF), and include the ICC profile used during rendering. Deliver a layered PSD so retouchers can adjust background, shadows, and color grading without re-rendering. Include the original dieline and per-panel texture files so the studio or agency can verify artwork placement against the structural spec.
The packaging visualization workflow that serves brand managers well separates these two deliverables from the start — building the AR asset and the print render from the same source geometry but optimizing each independently for its destination.
A studio perspective on dieline-to-3D projects
At 35milimetre, the projects that go smoothest are the ones where the designer hands us a clean, layered AI file with spot-color keylines intact and per-panel artwork already separated. From that starting point, our 3D artist builds the geometry to spec, our graphic designer verifies artwork placement against the dieline, and our post-production artist handles color grading and compositing for the final hero image. The three roles work in parallel rather than in sequence, which compresses the timeline considerably.
The trickiest briefs are usually complex structural packs — a rigid box with a magnetic lid and a tray insert, for example — where the fold sequence is non-obvious and the material simulation needs to match a physical sample the client has already approved. We handle those by requesting the physical sample alongside the dieline, photographing it under controlled lighting, and using those photographs as reference for material calibration. The result is a render that a brand team can place directly into a campaign without further retouching.
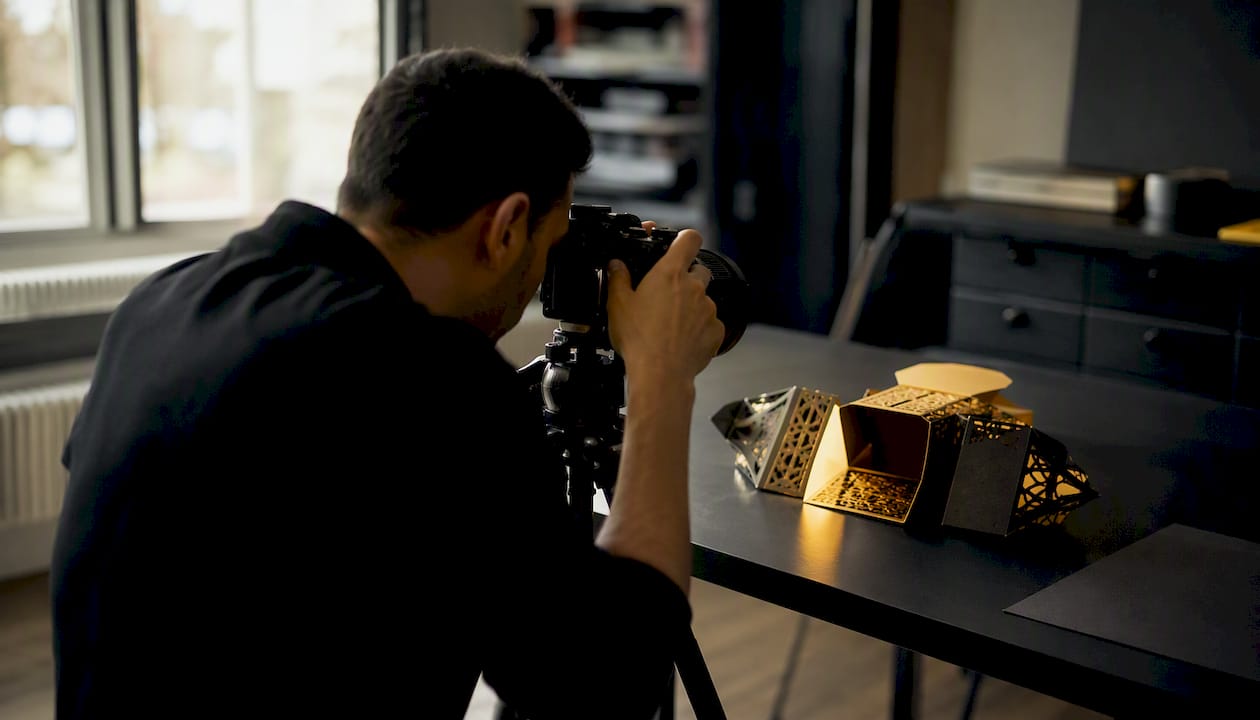
For designers who want to understand what to expect from a production-grade studio engagement, the digital mockup guide on our blog covers file types, use cases, and handoff expectations in detail.
35milimetre: production-grade packaging mockups for demanding briefs
When the brief calls for a hero shot that has to hold up in a campaign, a retail sell-in deck, or a product launch, the DIY pipeline has real limits — particularly around material simulation, prepress QA, and the retouching that turns a good render into a final deliverable.
35milimetre handles the full chain: prepress verification of your dieline, production-accurate 3D modeling with real-world material calibration, photoreal rendering in Cycles, and composited final files ready for print or digital use. The studio's multidisciplinary team — 3D artist, graphic designer, and post-production specialist — works from your dieline and material spec and delivers files that are agency-ready on the first pass. If your project involves specialty finishes, complex structure, or a tight deadline, get a quote from 35milimetre and include your dieline, substrate spec, and target deliverables in the brief.
Sources
These are the sources and tools referenced throughout this guide, worth bookmarking for your own workflow.