
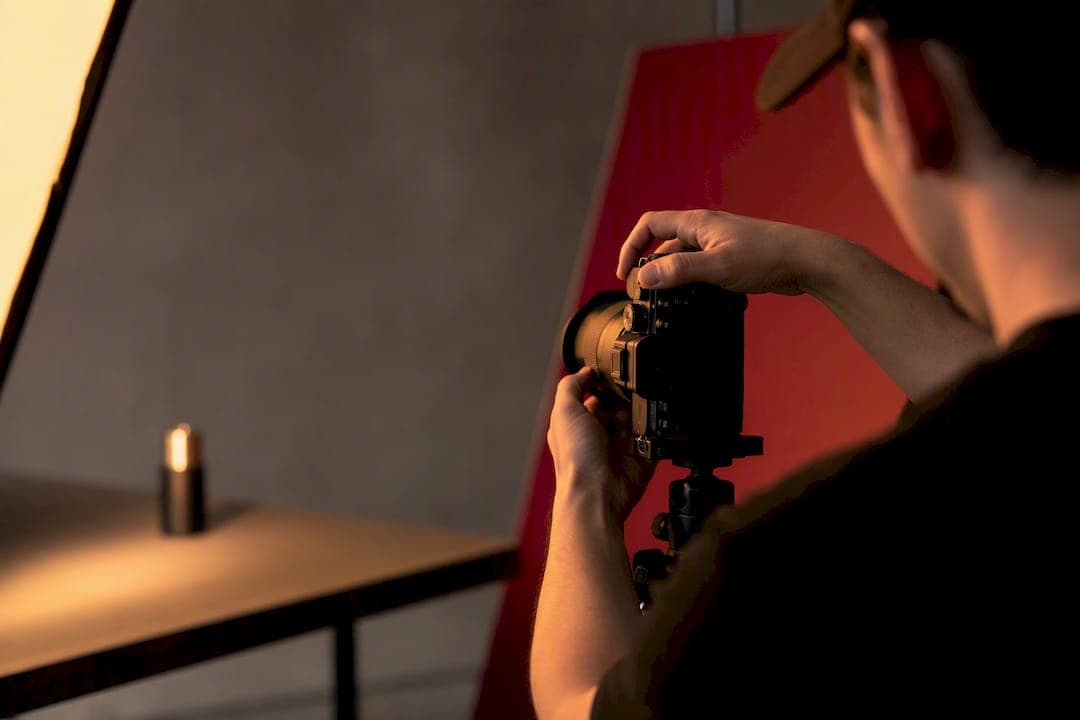
Pick photography when authenticity and tactile detail sell the product. Pick CGI when you need dozens of variants, impossible angles, or airtight consistency across a campaign. Combine both when your brief demands the credibility of a real photograph and the scale only 3D can deliver. That's the working rule 35milimetre applies across automotive, tech, and CPG campaigns because the two methods solve different problems, not competing versions of the same one.
- Photography wins for texture, material authenticity, and lifestyle context.
- CGI wins for variant volume, precise consistency, and creative angles a camera can't reach.
- Hybrid wins for launches that need both credibility and scale in the same campaign.
Key Takeaways
Choosing between CGI and photography comes down to matching the method's strengths, control and scale for CGI, tactile authenticity for photography, to what the specific brief actually needs.
| Point | Details |
|---|---|
| Match method to material | Use photography when tactile authenticity sells the product; use CGI when consistency and variant count matter more. |
| Front load CGI costs | The first CGI render costs more than a shoot, but per-variant costs drop sharply after the model exists. |
| Protect the color pipeline | Keep one color-management chain and a material reference shot when mixing CGI with photography. |
| Use AI for speed, not final assets | Lean on AI for fast concepting, then finalize hero images in CGI or photography for brand consistency. |
| 35milimetre runs hybrid pipelines | The studio combines CGI, photography, and AI-assisted concepting under one art director for consistent campaign output. |
Table of Contents
- CGI vs Photography: What Each Term Actually Means
- Which Wins: Control, Consistency, or Realism?
- What Do CGI and Photography Cost, and How Long Do They Take?
- How Do the CGI and Photography Pipelines Actually Run?
- When Should You Choose CGI, Photography, or a Hybrid Approach?
- How Does 35milimetre Combine CGI, Photography, and AI in Practice?
- What Should You Ask Before Briefing a CGI or Photography Vendor?
- Does CGI or Photography Have the Smaller Environmental Footprint?
- What We've Learned Mixing CGI and Photography on Real Campaigns
- Get Product Imagery That Moves Between CGI and Photography Without Losing Consistency
- Sources
CGI vs Photography: What Each Term Actually Means
CGI, or computer-generated imagery, builds a product from nothing but data. An artist models the geometry, applies materials that mimic metal, fabric, or plastic, places virtual lights, then renders the scene in passes, often called AOVs, that get combined during compositing. Because the 3D model itself is deterministic, the same asset reproduces identical results every time you render it, which is the entire reason CGI scales the way it does.
Product photography starts differently. A photographer captures light bouncing off a physical object with a camera, using composition principles like framing, negative space, and leading lines to shape how the product reads. Every capture involves natural variables: color temperature, reflections, small imperfections, all things that give a photograph its tactile credibility.
AI-generated imagery sits in a third category and gets confused with CGI constantly. Generative AI predicts pixels from prompts and training data. It has no true 3D geometry underneath, which is why it struggles with strict brand consistency and readable logo placement across a full product line. CGI, photography, and AI all produce images, but only two of them start from a physical or geometric ground truth.
Which Wins: Control, Consistency, or Realism?
Every production choice comes down to a trade-off, and none of them is universal.
CGI gives you total control. Change the camera angle, swap the material finish, or relight the scene without touching the physical object, because the object doesn't exist outside the file. That editability is also CGI's biggest limit: a rendered material can look slightly synthetic if the artist doesn't get subsurface scattering and micro-imperfections right. Photography flips this. You get instant tactile authenticity, but changing an angle means reshooting, and reshoots cost time and studio access you may not have on a tight deadline.
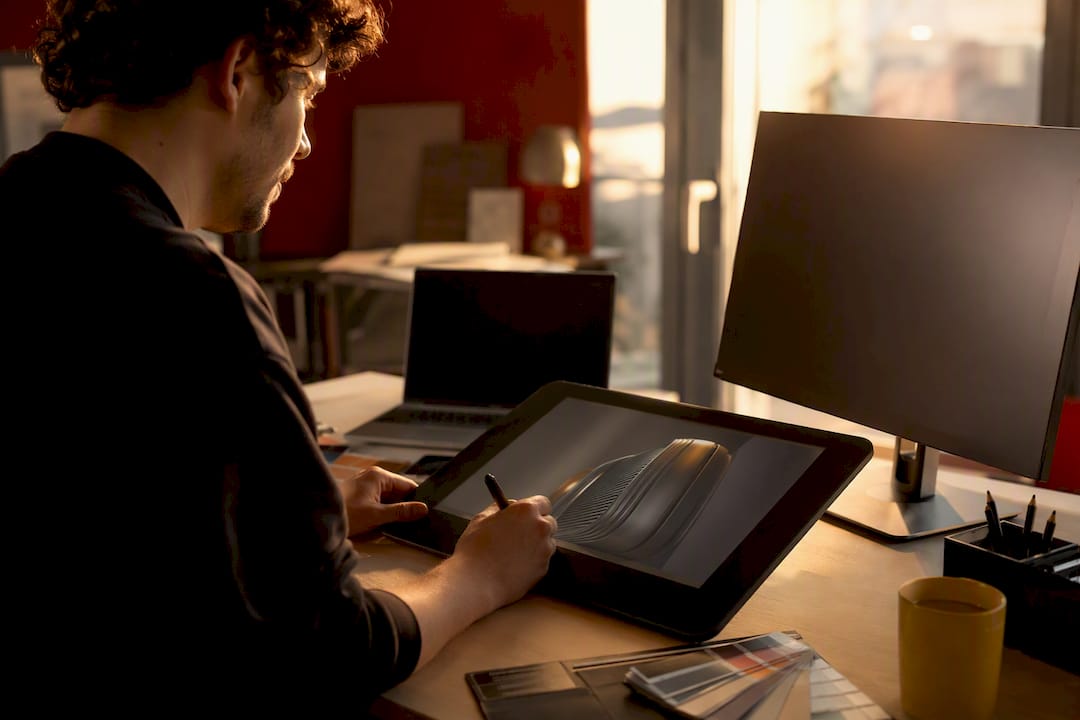
Scale is where the two methods diverge hardest. Once a CGI asset exists, generating fifty color variants or a dozen crops costs a fraction of the first render. A photo shoot with fifty variants means fifty physical setups, unless you're clever about batching. That's also why CGI wins on consistency: the same lighting rig and camera position apply across every SKU automatically, where a multi-day photo shoot introduces natural drift between sessions.
Creative range favors CGI too. Cutaway views, exploded product diagrams, and macro shots of components too small to photograph cleanly are all routine in a 3D pipeline. Combining AI for fast exploration with CGI for the final hero asset is becoming the standard way studios get speed without losing final-render control.
- Control and editability: CGI edits infinitely; photography requires a reshoot.
- Authenticity: photography reads as real because it is; CGI must earn that trust through detail work.
- Scale and cost per variant: CGI drops sharply after the first asset; photography scales linearly with setups.
- Creative range: CGI handles impossible angles and motion; photography is bound by physics and studio space.
Pro Tip: If a client asks for "just one more angle" late in a shoot, that's usually the moment to flag whether the project should have started as CGI instead of photography.
What Do CGI and Photography Cost, and How Long Do They Take?
CGI's cost curve is front loaded. Building a detailed 3D model, sourcing accurate materials, and lighting a scene for the first time takes real investment, often more than a comparable single photo shoot. But once that model exists, per-render costs drop substantially because you're re-rendering an asset, not rebuilding a set. Studios that need twenty SKU variants or seasonal color swaps often find the CGI investment pays for itself by the third or fourth render.
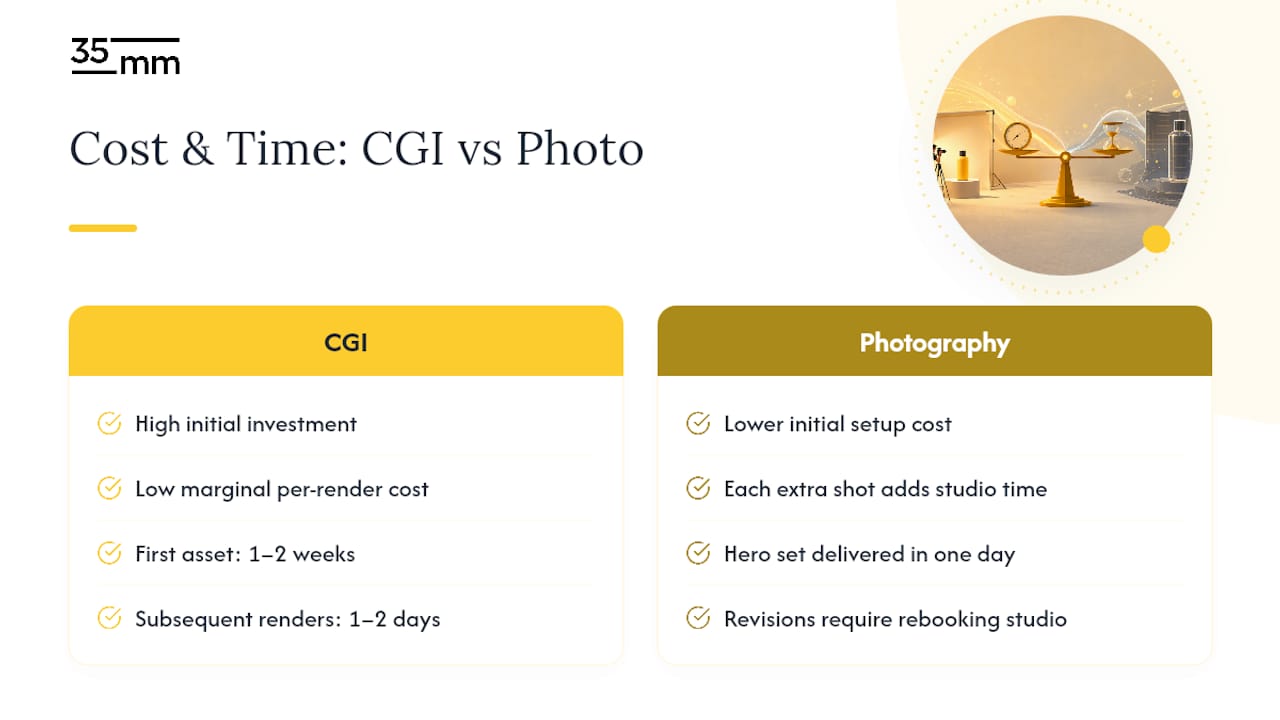
Photography's cost structure runs the other direction. Setup costs are lower, a studio day, a photographer, maybe a stylist, but every additional angle or variant adds studio time on the clock. There's no discount on the fiftieth shot the way there is on the fiftieth render.
Timelines differ too. A CGI hero asset can take one to two weeks for the first build depending on model complexity, but subsequent renders and revisions often turn around in a day or two. A studio photography shoot can deliver a full set of hero images in a single day, but a full revision cycle means booking studio time again.
Team composition shifts accordingly: CGI projects need 3D modelers, texture artists, and render technicians; photography needs photographers, stylists, and retouchers. Understanding 3D rendering workflows upfront helps you budget which team you actually need before the brief goes out.
How Do the CGI and Photography Pipelines Actually Run?
Both pipelines follow a predictable sequence of handoffs, and knowing where the checkpoints sit prevents most of the revision chaos that eats budgets late in a project.
The CGI pipeline typically runs:
- Brief and reference gathering, including material swatches and dimensional specs.
- 3D modeling of the product geometry.
- Material and texture creation to match real-world finishes.
- Lighting setup, often mirroring a photography-style lighting rig.
- Rendering in passes (AOVs) such as beauty, diffuse, specular, and depth.
- Compositing the passes into a final image.
- Color grading to match brand guidelines.
The photography pipeline typically runs:
- Brief and prop/styling prep.
- Studio shoot with tethered capture for real-time review.
- Raw processing and initial color correction.
- Retouching for blemishes, dust, and consistency.
- Quality assurance against brand color targets.
The integration points matter most when you're mixing both. Rigorous AOV review, comparing beauty, specular, and motion vector passes against a photographed reference shot, is what keeps a CGI hero asset from looking pasted onto a real background. Anyone managing a hybrid production should read up on how CGI workflows actually break down before signing off on a render pass structure.
When Should You Choose CGI, Photography, or a Hybrid Approach?
Five factors decide the route almost every time: the product's material (does it need to look touchable?), the number of variants required, how tight the launch window is, whether you need animation or interaction, and how much brand authenticity rides on the image looking undeniably real.
- High variant count, tight consistency needs: choose CGI.
- Tactile, premium materials where authenticity sells the product: choose photography, since buyers rely on subtle material detail that's hard to fake convincingly.
- Launch needs both a believable hero shot and dozens of localized variants: choose hybrid.
- Impossible angles, cutaways, or animated product demos: choose CGI.
- Extremely short deadline with a single physical sample available: choose photography.
Three quick examples: a skincare brand launching one flagship product globally, with lifestyle context, leans photography. A tech brand shipping the same device in multiple colorways across several regions leans CGI. A luxury watch brand that needs both an editorial hero shot and many banner-ad crops leans hybrid, shooting the hero and rendering the rest.
How Does 35milimetre Combine CGI, Photography, and AI in Practice?
Over two decades of post-production and design work across technology and automotive campaigns, 35milimetre's three-person core team (a post-production artist, a graphic designer, and a 3D artist) has run enough hybrid projects to know where they usually break: not in any single discipline, but in the handoff between them.
The pattern that works most reliably starts with AI for fast concept exploration, moves to CGI for the final hero asset once the direction is locked, and layers in photographed material overlays where texture needs to read as unmistakably real.
Keeping one art director across the whole project, a single color pipeline from render to retouch, and a strict asset naming convention prevents the single most common failure in mixed productions: three vendors each color grading to a slightly different reference.
Pro Tip: Lock your color management chain (same profile, same display reference, one grading pass) before a single render goes out for review, not after.
What Should You Ask Before Briefing a CGI or Photography Vendor?
A vendor conversation goes faster once you know exactly what to request.
- Ask for deliverables in specific formats: layered PSDs, EXR files for CGI passes, and a confirmed color profile (sRGB or Adobe RGB, stated explicitly).
- Ask how many revision rounds are included and what triggers an additional charge.
- Ask how the vendor handles color matching between CGI and any photographed elements in the same campaign.
- Ask who owns the final files and the underlying 3D model or raw captures.
- Watch for vague scope language around "unlimited revisions" or no stated file specs. That's the biggest tell a proposal will run over budget.
Does CGI or Photography Have the Smaller Environmental Footprint?
Photography carries a physical footprint: studio energy use, prop sourcing and disposal, sample shipping, and travel for location shoots. A multi-day shoot with a full crew, styling team, and shipped product samples adds up in transportation and material waste that a rendered image never generates.
CGI's footprint is almost entirely digital, tied to the computing power needed for rendering rather than physical logistics. High-end render farms consume real electricity, and complex scenes with heavy ray tracing can run for hours across multiple machines. That energy cost is real, but it scales differently: rendering fifty variants of an existing 3D asset draws power without a single shipped sample or wasted prop.
The practical takeaway for brand teams weighing sustainability claims: CGI generally reduces physical waste and shipping-related emissions, especially for large SKU counts, while photography's footprint depends heavily on how many physical shoots a campaign requires. Neither method is emissions-free, and the more responsible framing is that CGI trades physical waste for computing energy, not that one option is environmentally clean and the other isn't.
What We've Learned Mixing CGI and Photography on Real Campaigns
One automotive project called for a photographed vehicle interior paired with a CGI-rendered dashboard display, added post-shoot because the client changed the featured software mid-campaign. The render matched the photographed lighting on the first pass, but only because the reference shot included a chrome ball and gray card captured during the original shoot.
The lesson holds across every hybrid job since: coordination fails at the color pipeline, not the creative concept. Get your material reference and lighting data captured on day one, or every downstream render becomes a guessing game.
— 35mm
Get Product Imagery That Moves Between CGI and Photography Without Losing Consistency
Most studios force you to choose a lane: a photography house that shoots beautifully but can't render a hero product in twelve colorways, or a 3D studio that renders flawlessly but has never lit a physical set. 35milimetre runs both under one roof, with a single art director overseeing color across CGI, retouching, compositing, and AI-assisted concepting, so a hybrid campaign doesn't fall apart at the handoff between vendors.
The studio's work across technology and automotive brands shows the pattern in practice: AI concepting for speed, CGI for the final hero render, photographed material references layered in where texture needs to be unmistakably real. If your next campaign needs SKU variants a camera can't scale to, or a hero shot that needs to feel real and be flexible enough to reformat a dozen ways, explore 35milimetre's post-production and CGI services and request a quote for your next brief.