
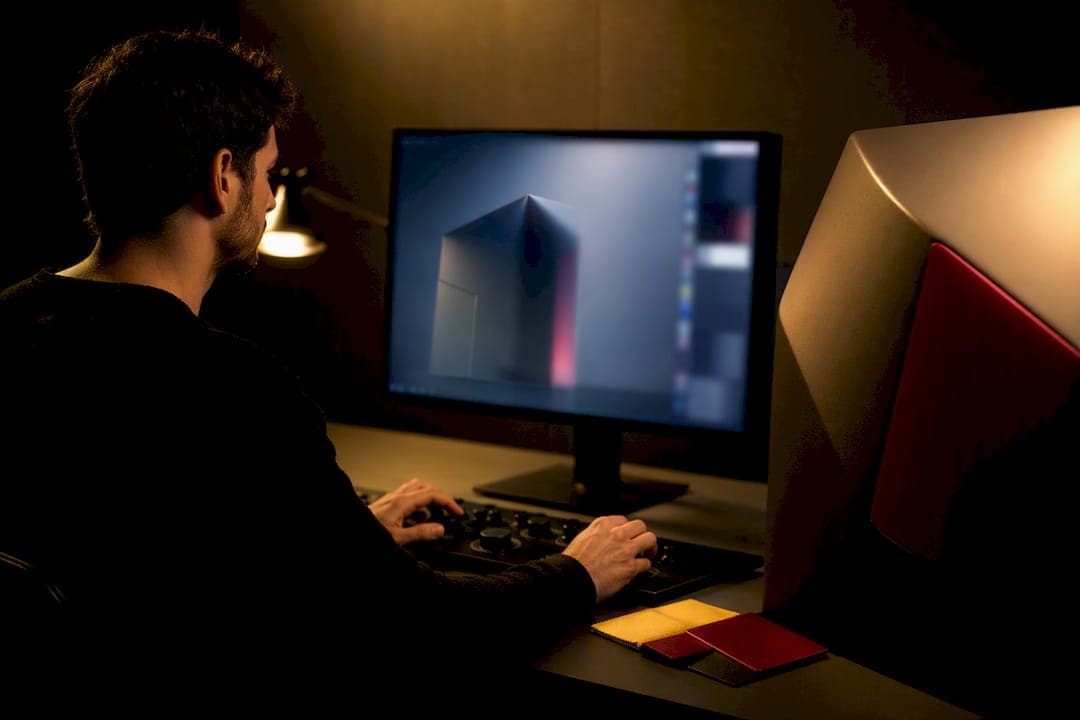
CGI packshots are photorealistic product images rendered from 3D models rather than shot with a camera. They give brand teams a scalable, consistent alternative to studio photography for ecommerce, catalogs, and pre-launch campaigns. This guide covers the workflow, material realism, cost windows, and how to brief a studio.
TL;DR:
- CGI packshots require upfront investment in modeling and materials but reduce costs and time when producing multiple variants or frequent updates.
- Consistency across thousands of SKUs and the ability to preview pre-manufacture products make CGI ideal for high-volume, fast-refresh environments.
- Providing physical samples or calibrated references significantly improves material realism, especially for complex finishes like metallics or spot UV.
- Batch rendering with locked lighting and camera presets lowers marginal costs and speeds up full catalog production.
- Clear, detailed briefs with ownership rights set upfront prevent costly misunderstandings and streamline project delivery.
Table of Contents
- What Are CGI Packshots and How Do They Differ From Studio Photography?
- What Are the Key Benefits and Marketing Use Cases?
- What Is the Typical CGI Packshot Workflow?
- Can CGI Reproduce Realistic Materials and Finishes?
- How Much Do CGI Packshots Cost and How Long Do They Take?
- How Do You Brief and Commission a CGI Packshot Studio?
- How Does 35milimetre Deliver Packshot Projects?
- Where Do Marketing Teams Get CGI Packshots Wrong?
- Get Sample Renders From 35milimetre
- Sources
What Are CGI Packshots and How Do They Differ From Studio Photography?
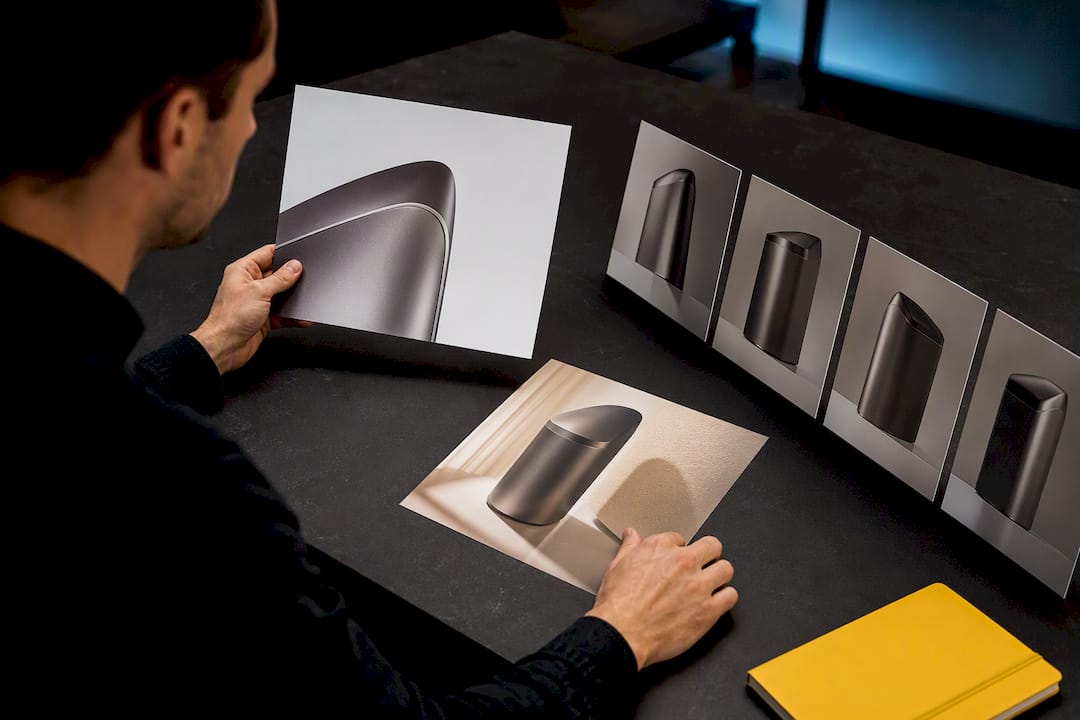
A CGI packshot starts life as a 3D model, not a physical product on a table. Once that model exists, a studio sets materials, lighting, and camera angles to produce the final render, and can repeat that setup indefinitely without touching a camera again.
That difference in process creates a difference in flexibility. A studio shoot needs a finished sample in hand, one lighting rig, and a photographer's day. A 3D-based workflow lets teams generate consistent packshots at scale using predefined camera angles and lighting presets, and it can start before manufacturing finishes. Marketers typically pull three kinds of output from the same model: clean white-background shots for marketplaces, styled lifestyle scenes for campaigns, and 360-degree or interactive views for product pages. Compare that against a traditional photography setup and the tradeoff becomes clear: 3D asset creation costs more upfront but pays off across every variant you need afterward.
What Are the Key Benefits and Marketing Use Cases?
The real advantage of CGI packshots isn't a single stunning image. It's what happens when you need the fortieth one.
Once lighting and camera angles are locked as presets, every SKU in a line gets rendered under identical conditions. Color grading, shadow falloff, and background all match, something that's genuinely hard to guarantee across multiple photography sessions months apart. Iteration also gets cheaper: swapping a label color or testing a new cap finish is a material change in software, not a reshoot.
Where CGI packshots tend to earn their keep:
- Ecommerce listings that need dozens of angles per SKU without a proportional photography bill
- Paid social creative that rotates fast and needs frequent visual refreshes
- Full-line catalogs where consistency across hundreds of products matters more than any single hero shot
- Pre-launch marketing for products that haven't finished manufacturing yet
- AR viewers and interactive 3D product pages
CGI tends to win outright when SKU counts are high, updates are frequent, or the product itself is embargoed and unavailable for a physical shoot.
What Is the Typical CGI Packshot Workflow?
Every CGI packshot project follows roughly the same arc, whether the studio is producing one hero image or a thousand-SKU catalog.
- Input gathering. The studio collects whatever exists: a physical sample, product photos, CAD files, dielines, or an existing 3D scan.
- Modeling and optimization. A 3D artist builds or refines the model, keeping geometry clean enough to render efficiently across dozens of variants.
- Materials and shaders. Surfaces get assigned real-world properties: gloss levels, metallic reflectivity, translucency, texture grain.
- Lighting presets. The studio locks a lighting setup so every subsequent render, and every future SKU, matches.
- Camera angles. Angles get defined once and reused. Fibbl's Render Studio, for example, ships with 18 predefined camera angles built for exactly this kind of repeatable output.
- Batch rendering and export. Every variant, color, and format gets rendered in one pass rather than one at a time.
- Retouching and compositing. A post-production pass cleans up edge cases and drops products into lifestyle scenes where needed.
When you request deliverables, ask for these explicitly:
- Web-ready formats: PNG, JPEG, and WebP for site and marketplace use
- Print-ready, high-resolution files with the correct color profile
- Layered PSD or TIFF files if your team needs to composite scenes later
- A full set of SKU variant exports, not just the hero image
Can CGI Reproduce Realistic Materials and Finishes?
Modern CGI handles complex finishes convincingly: metallic foils, spot UV coating, embossing, matte versus glossy plastic, and translucent liquids or glass all have real, simulatable optical behavior. A skilled 3D artist builds these as material properties, not painted-on effects, which is why they hold up under different lighting and camera moves.
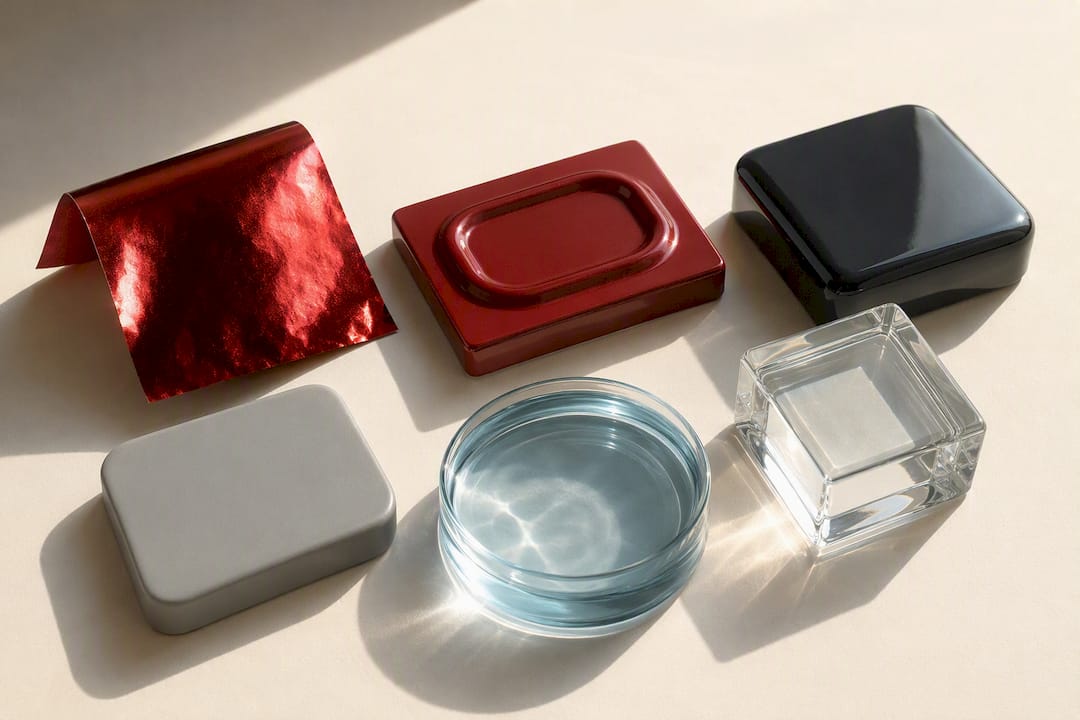
That said, CGI still leans on real-world reference. Providing a physical sample or a calibrated color reference meaningfully improves accuracy for tricky finishes like spot UV or metallic foils. Without one, the studio works from your brand's color specs and a revision loop instead, which usually takes longer to nail down.
Before signing off on a batch of renders, check these details closely:
- Zoom into a macro crop of the label or logo area for texture accuracy
- Look at reflections on glossy or metallic surfaces under the actual lighting preset you'll use
- Check edge highlights, where flat renders often give themselves away
Vendors who specialize in this work often lock camera coordinates and lighting setups across a whole catalog run, which is exactly what keeps hundreds of SKUs looking like they came from the same shoot.
How Much Do CGI Packshots Cost and How Long Do They Take?
Pricing swings widely based on model complexity, the number of finishes involved, and how much retouching a final image needs. Across the industry, most individual renders generally fall within a broad cost range depending on complexity and detail (https://www.blog.35milimetre.com/blog/cgi-rendering-cost), with simple single-SKU white-background shots at the low end and highly detailed, multi-material hero images at the high end.
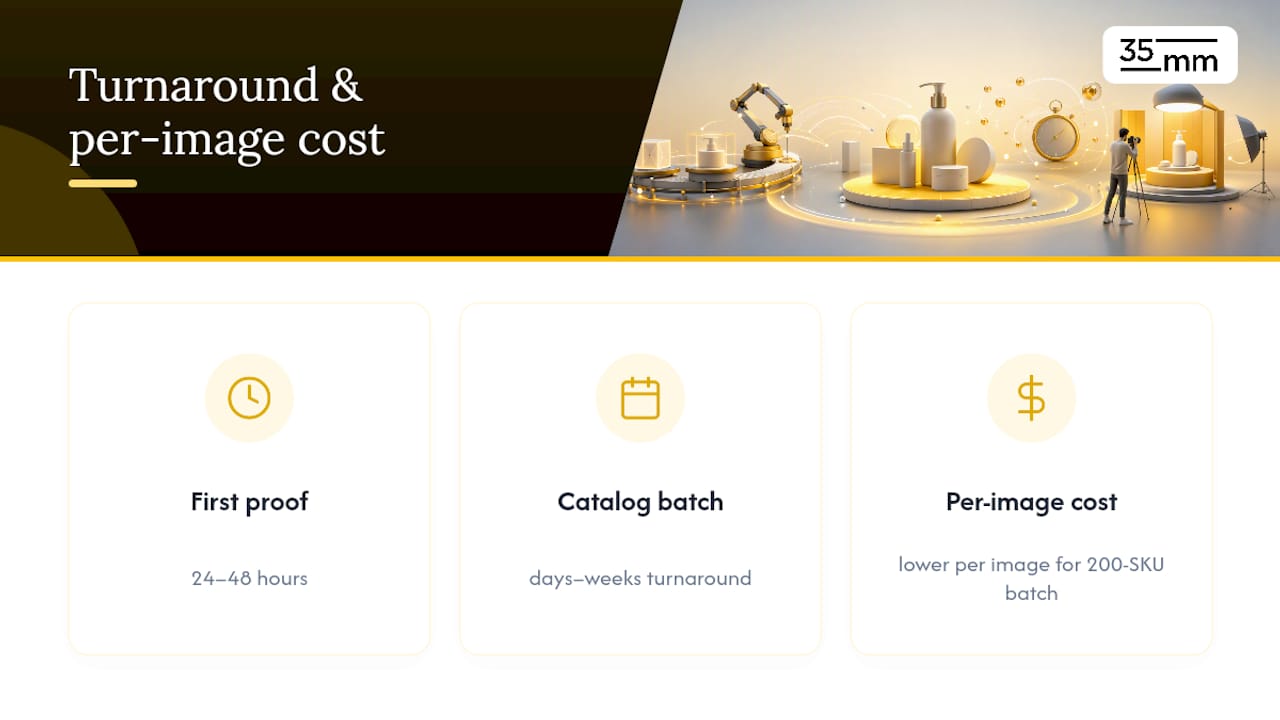
Turnaround depends on where you are in the process. First proof renders, once a model and materials are approved, typically land in 24 to 48 hours. Full catalog batches take longer, often days to weeks, depending on SKU count and revision rounds. The good news: once presets and lighting are locked, batching drives down the marginal cost per image, so a 200-SKU catalog costs far less per image than 200 individual commissions would.
How Do You Brief and Commission a CGI Packshot Studio?
A tight brief saves you a week of back-and-forth email threads. Before reaching out, gather your dielines, label files, Pantone or CMYK color specs, any sample product photos you have, and a finalized SKU list.
When you talk to a studio, ask these questions directly:
- Do you retain or transfer ownership of the 3D model once the project closes?
- Is your workflow color-managed, and how do you calibrate against physical samples?
- What's your standard SLA for first proofs versus full-batch delivery?
- How many revision rounds are included before extra charges apply?
- What file formats and resolutions come standard, and what costs extra?
Your brief itself should spell out acceptance criteria in specific terms: exact pixel dimensions, background type (pure white, transparent, lifestyle), shadow style, and a color-accuracy tolerance the studio can be held to.
Pro Tip: Get 3D model ownership and reuse rights in writing before the project starts, not after. Studios differ on whether the model is yours to reuse for future campaigns or licensed per-project, and that clause matters far more once you're planning your third seasonal refresh.
Contract terms worth confirming upfront: who owns the underlying asset, whether you can reuse it across future campaigns without extra fees, and what the studio charges to archive or re-export files down the line.
How Does 35milimetre Deliver Packshot Projects?
35milimetre has spent more than two decades in image manipulation, compositing, and visual storytelling, working from Istanbul with brands across technology, automotive, and CPG. The studio runs lean by design: a post-production artist, a graphic designer, and a 3D artist, with additional specialists brought in when a project's scope calls for it.
That process moves through the same core stages every packshot project needs: 3D modeling, material and shader work, locked lighting presets, batch rendering, and a compositing pass where AI-assisted tools speed up repetitive retouching without sacrificing the final look.
Small teams that own every stage of a render, from modeling through final compositing, tend to catch material and lighting inconsistencies that larger, more fragmented pipelines miss.
Where Do Marketing Teams Get CGI Packshots Wrong?
Most of the advice floating around treats CGI packshots as a cheaper photography substitute, full stop. That's the wrong frame. The bigger opportunity is treating the 3D model itself as a reusable asset, since a single validated model can power packshots, lifestyle scenes, and even short-form motion content long after the first render ships. Brands that commission a model once and stop there are leaving most of its value on the table.
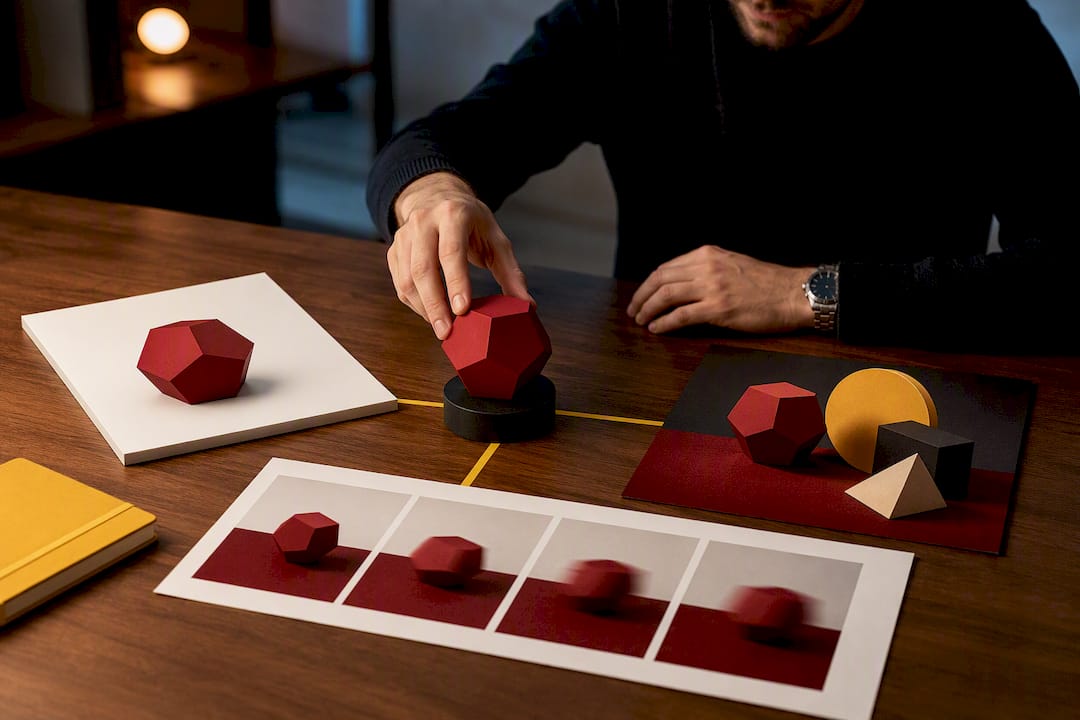
The conventional advice also underweights the brief. Teams spend weeks debating studios and comparing per-image quotes, then send a vague product description and expect the vendor to fill the gaps. Material accuracy, especially for foils, spot UV, and glass, depends heavily on what reference you supply upfront. A studio can't guess your Pantone spec.
If there's one priority to fix first, it's this: lock your acceptance criteria and color references before you request a single quote. Everything downstream, cost, turnaround, revision count, gets easier once a vendor knows exactly what "done" looks like.
— 35mm
Get Sample Renders From 35milimetre
A CGI studio can replace the reshoot cycle with a single, reusable 3D asset that scales across your whole catalog. Instead of rebooking a studio every time a new SKU or seasonal variant launches, you get consistent, photorealistic renders built once and exported to every format your team needs, from marketplace listings to paid social.
Getting started is straightforward: send over your product brief and any reference materials you have, request a quote, and review sample renders before committing to a full batch. Visit 35milimetre to start that conversation and see what a first proof render looks like for your product line.
Sources
For deeper detail on rendering workflows, see 3D Product Rendering Workflow: A 2026 Guide and Photorealistic CGI: A Clear Guide for Marketers and Creators. Structured production workflows like those covered in content marketing automation also apply well to batch packshot planning.